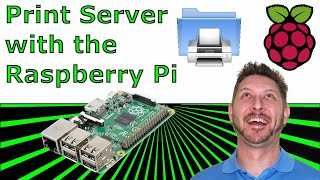
Turning your Raspberry Pi into a Print Server
Video Not Working? Fix It Now
In this video, we will be showing you how to turn your Raspberry Pi into an efficient Print Server using CUPS.
Tutorial: https://pimylifeup.com/raspberry-pi-print-server/
Static IP Address Guide: https://pimylifeup.com/raspberry-pi-static-ip-address/
A print server is a great way of breathing life into older printers. If your printer doesn't offer print over Wi-Fi or is simply no longer supported by modern operating systems, this print server will be incredibly useful for you.
With the CUPS software, all you need to do is plug your printer into a Raspberry Pi, add it through an easy-to-use web interface and then it will become available to all other devices connected to your network.
This software is really easy to get up and running to and can be installed straight from the Raspberry Pi package repository. Thanks to CUPS not being very heavy, you can even get away with using one of the weaker and smaller Pi's such as the Raspberry Pi Zero 2W.
Below you can find a list of some of the equipment we used when transforming our Raspberry Pi into a print server.
Please note that we may earn a small commission if you make any purchases through these links.
Raspberry Pi: https://amzn.to/3WUT8Ij
Micro SD Card: https://amzn.to/3US0ZUz
Ethernet Cable: https://amzn.to/3K8BcT7
Comment